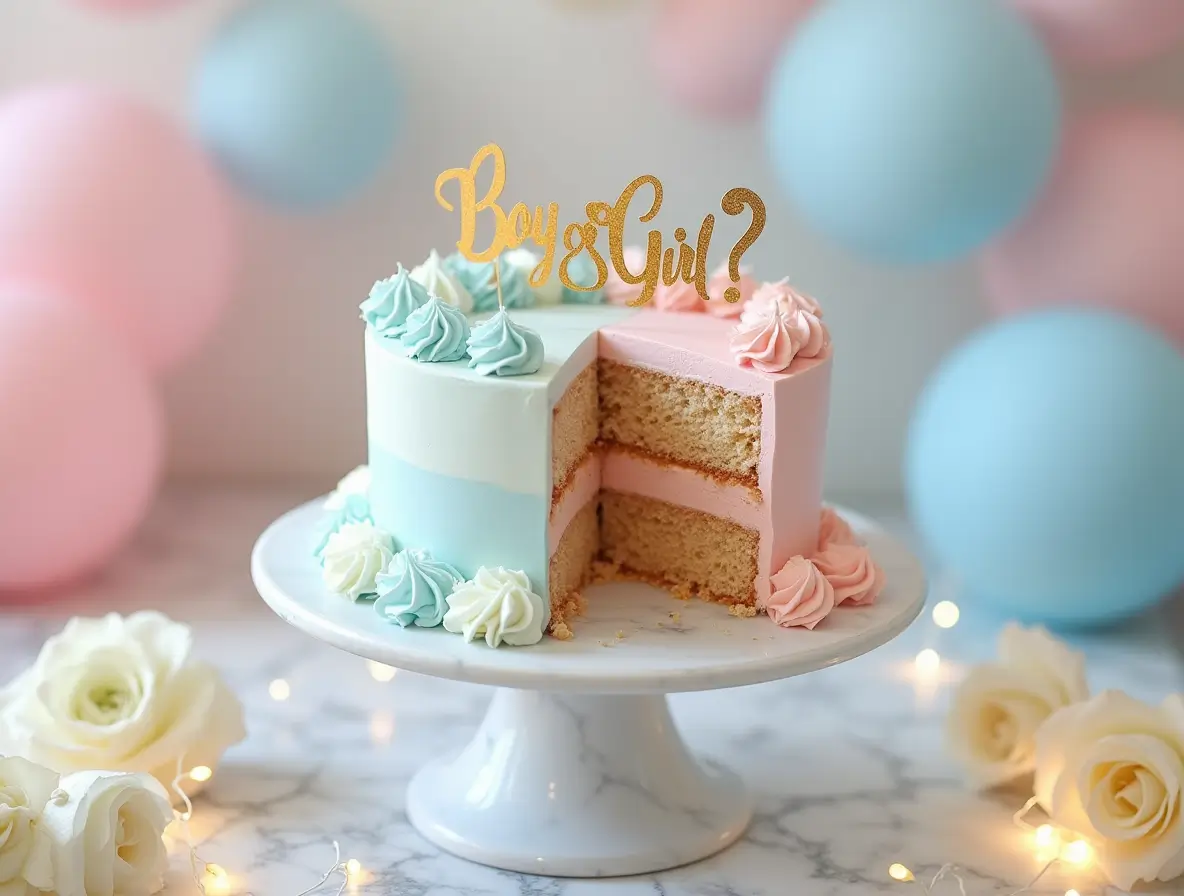
The Ultimate Guide to Gender Reveal Cakes
Anticipating the arrival of a new baby is one of life’s most magical moments, and gender reveal parties have transformed how we celebrate this special time. At the heart of these joyous gatherings is the gender reveal cake – a delicious confection that holds the exciting secret inside. Whether you’re a parent-to-be planning your own celebration or a loved one tasked with creating this memorable centerpiece, this comprehensive guide will walk you through everything you need to know about crafting the perfect gender reveal cake.
As gender reveal celebrations continue to evolve, the cake remains a timeless and delightful way to share your news. Unlike more extravagant reveal methods, a gender reveal cake offers a sweet moment that everyone can enjoy together – combining the excitement of the announcement with the pleasure of enjoying a delicious dessert. Let’s dive into how you can create a stunning gender reveal cake that will make your special moment even more unforgettable!
Table of Contents
Classic Gender Reveal Cake Recipe
A successful gender reveal cake starts with a reliable, delicious foundation. This vanilla cake recipe creates the perfect canvas for your colorful surprise while being simple enough for bakers of all skill levels.
Ingredients
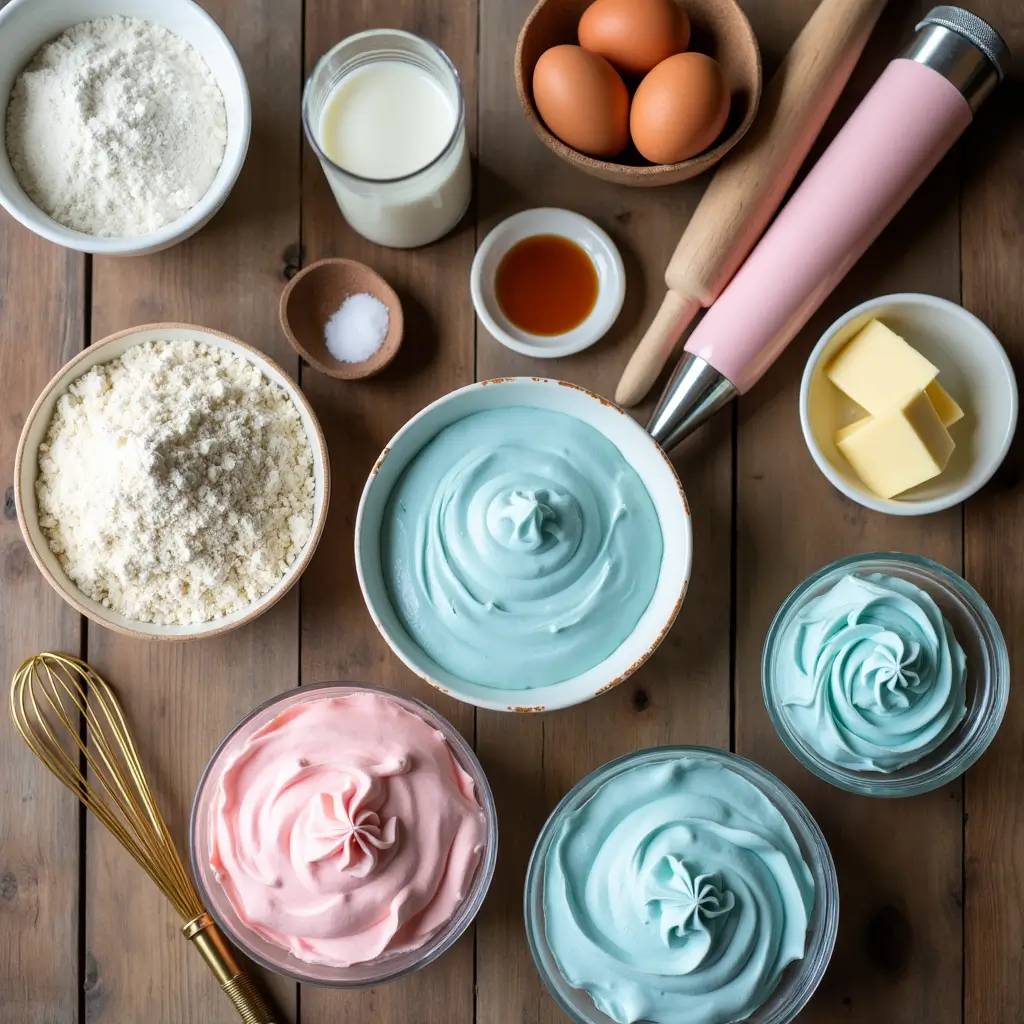
For the Vanilla Cake:
- 3¼ cups all-purpose flour (400g)
- 2 cups granulated sugar (400g)
- 1 tablespoon baking powder
- ½ teaspoon salt
- 1 cup unsalted butter, softened (226g)
- 4 large eggs, room temperature
- 1¼ cups whole milk, room temperature (300ml)
- 2 teaspoons vanilla extract
- ½ teaspoon almond extract (optional, enhances flavor)
For the Color Reveal Filling:
- 2 cups white chocolate chips (350g)
- ⅔ cup heavy cream (160ml)
- Pink or blue gel food coloring
- Optional add-ins: ¼ cup sprinkles or small candies in appropriate color
For the Vanilla Buttercream Frosting:
- 1½ cups unsalted butter, softened (340g)
- 5-6 cups powdered sugar, sifted (600-720g)
- ¼ cup heavy cream (60ml)
- 2 teaspoons vanilla extract
- ¼ teaspoon salt
- Optional: 1-2 drops of food coloring for decorative elements
Making the Cake Batter: Step-by-Step Instructions
- Prepare your workspace. Preheat your oven to 350°F (175°C). Grease, and line three 8-inch round cake pans with parchment paper. Having everything ready before you start mixing will make the process much smoother.
- Combine dry ingredients. In a large bowl, whisk together the flour, sugar, baking powder, and salt until well combined and free of lumps.
- Beat butter and sugar. In a separate bowl using an electric mixer, beat the softened butter until creamy (about 1-2 minutes). Add the sugar and beat on medium-high speed until light and fluffy (approximately 3-4 minutes). This step incorporates air into the batter, helping create a tender crumb.
- Add eggs one at a time. Add eggs individually, beating well after each addition and scraping down the sides of the bowl as needed. This gradual incorporation prevents the batter from curdling.
- Alternate wet and dry ingredients. With the mixer on low speed, add about one-third of the flour mixture, then half the milk, another third of flour, remaining milk, and finish with the remaining flour. Mix just until combined after each addition.
- Add flavorings. Stir in the vanilla extract and almond extract (if using) until just incorporated. Be careful not to overmix – this can develop gluten and make your cake tough.
- Divide and bake. Distribute the batter evenly between your prepared cake pans, smoothing the tops with a spatula. Bake for 25-30 minutes, or until a toothpick inserted into the center comes out clean with just a few moist crumbs.
- Cool completely. Allow cakes to cool in the pans for 10 minutes, then remove and transfer to a wire rack to cool completely before assembling. Rushing this step can lead to melted filling and frosting.
“The most important secret to a perfect gender reveal cake isn’t fancy techniques – it’s patience. Take your time with each step, especially cooling, and your cake will be both beautiful and delicious.” – Professional Pastry Chef
Preparing the Filling: The Gender Reveal Magic
The colored filling is the star of your gender reveal cake – the moment everyone is waiting for! This white chocolate ganache creates a dramatic effect while being delicious and easy to work with.
- Prepare the ganache base. Place white chocolate chips in a heat-resistant bowl. In a small saucepan, heat heavy cream until it just begins to simmer around the edges (do not boil).
- Make the ganache. Pour the hot cream over the white chocolate and let stand for 2-3 minutes to soften. Whisk gently until completely smooth and no lumps remain.
- Divide if necessary. If you don’t know the baby’s gender and want to prepare both options, divide the ganache into two separate bowls at this point.
- Add color. For the gender reveal, add pink or blue gel food coloring to achieve your desired shade. Gel coloring is recommended as it won’t thin the ganache and provides vibrant color. Start with a small amount and gradually increase until you reach your desired intensity.
- Optional enhancement. For added texture and visual impact, fold in color-coordinated sprinkles or small candies once the ganache has cooled slightly but is still pourable.
- Cool properly. Allow the ganache to cool at room temperature, stirring occasionally, until it reaches a spreadable consistency similar to peanut butter. This usually takes 30-45 minutes depending on room temperature.
Color Intensity Guide
| Desired Effect | Amount of Gel Coloring | Cooling Time |
|---|---|---|
| Subtle Pastel | 1-2 small drops | 30-35 minutes |
| Medium Tone | 3-4 drops | 35-40 minutes |
| Vibrant Bold | 5-6 drops or more | 40-45 minutes |
Frosting Preparation: Creating the Perfect Finish
A smooth, stable buttercream is essential for both the structure and appearance of your gender reveal cake. This recipe creates enough frosting to generously cover a three-layer cake with additional decorative elements.
Making the Buttercream
- Beat the butter. Using an electric mixer with the paddle attachment, beat the softened butter on medium-high speed until very pale and fluffy, about 5-7 minutes. Don’t rush this step – the extended beating time creates an ultra-light texture.
- Add powdered sugar gradually. With the mixer on low speed, add the sifted powdered sugar one cup at a time, mixing thoroughly between additions and scraping down the sides of the bowl as needed.
- Add liquid ingredients. Pour in the heavy cream, vanilla extract, and salt. Beat on low speed until incorporated, then increase to medium-high and beat for 3-5 minutes until the frosting is light, fluffy, and smooth.
- Adjust consistency. If the frosting seems too thick, add additional heavy cream, one teaspoon at a time. If too thin, add more powdered sugar, one tablespoon at a time, until you reach your desired piping consistency.
- Optional color separation. If you plan to create decorative elements in different colors, separate a portion of the frosting into a different bowl and tint as desired with gel food coloring.
Frosting the Cake
- Prepare your workspace. Place your cake on a turntable if available, with strips of parchment paper tucked under the edges to keep your serving plate clean.
- Apply a crumb coat. Using an offset spatula, apply a thin layer of frosting over the entire cake to seal in any loose crumbs. Refrigerate for 15-20 minutes until set.
- Final coat. Apply a thicker, even layer of frosting to the chilled cake, smoothing with a bench scraper or spatula. For a perfectly smooth finish, dip your tool in hot water, wipe dry, and then smooth the frosting.
- Create texture if desired. For a more rustic look, use the back of a spoon to create decorative swirls in the frosting.
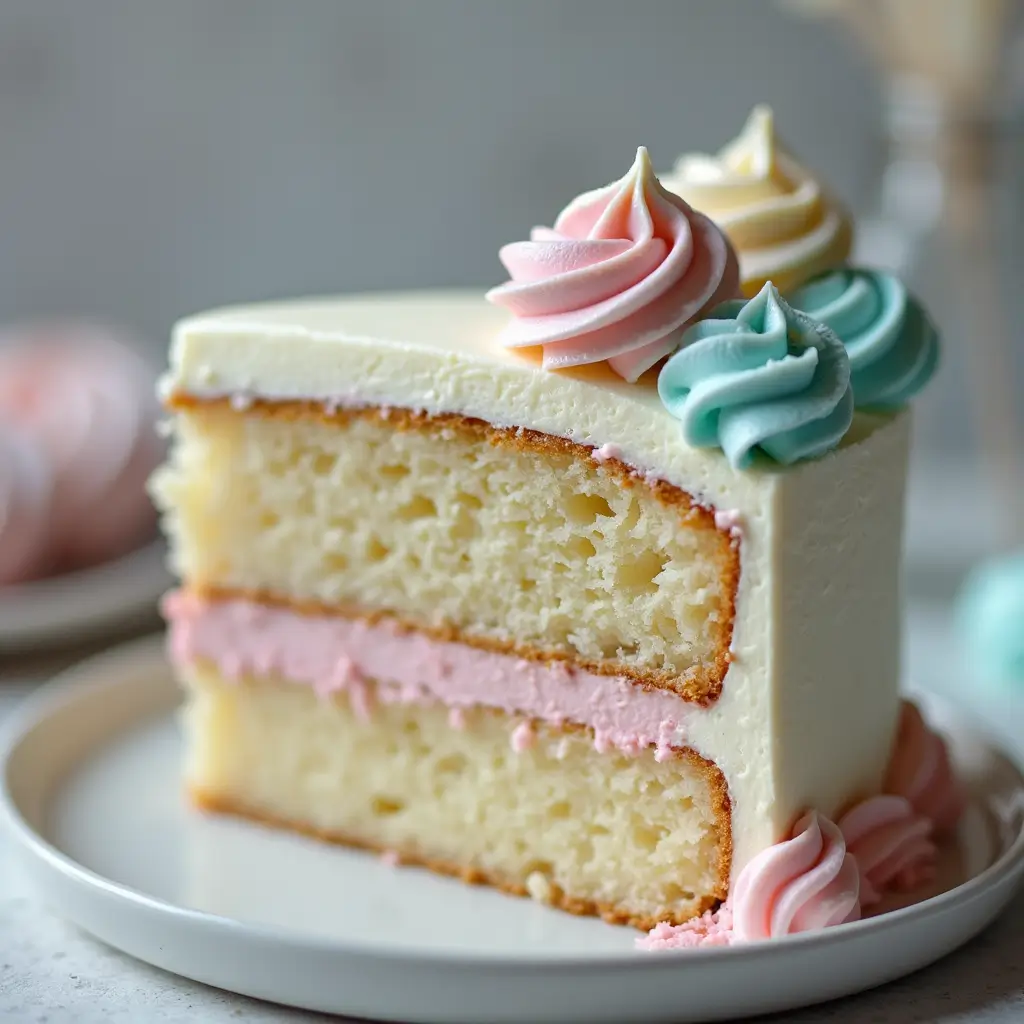
Assembling Your Gender Reveal Cake
The assembly process is where your gender reveal cake comes together, with the colored filling safely hidden inside until the big moment.
- Level the cakes. Using a long serrated knife, carefully trim the domed tops of your cooled cake layers to create flat, even surfaces.
- Create the cavity (Option 1 – Hidden Center). For a dramatic center reveal, use a round cookie cutter or small bowl (about 3-4 inches in diameter) to cut out the center of two cake layers, leaving the bottom layer intact.
- Alternative method (Option 2 – Colored Layers). For a simpler approach, you can tint the actual cake batter pink or blue before baking, then assemble with white frosting between layers.
- Begin assembly. Place the intact bottom cake layer on your serving plate or cake board, securing with a small dab of frosting underneath.
- Add structural frosting. Pipe a ring of buttercream around the edge of the bottom layer to create a dam that will contain the filling.
- Fill the cake. For Option 1, spoon the colored filling into the center cavity, filling it about ¾ full to allow room for settling. For Option 2, spread an even layer of white frosting between each colored cake layer.
- Stack remaining layers. Carefully place the cut-out middle layer(s) on top, aligning them properly. Then add the final top layer.
- Check alignment. Step back and ensure your cake is level and the layers are properly aligned before proceeding with the final frosting.
Creative Gender Reveal Cake Ideas
| Style | Description | Difficulty Level |
|---|---|---|
| Question Mark Topper | Pipe a decorative question mark on top using contrasting frosting | Beginner |
| Ombré Frosting | Gradient frosting from white to pale pink or blue on the exterior | Intermediate |
| Gold or Silver Accents | Add metallic sprinkles or edible paint for an elegant touch | Beginner |
| Gender-Neutral Exterior | Decorate with yellow, green, or rainbow colors outside, with the reveal inside | Beginner |
| Split Design | Half pink/half blue exterior, with the actual gender color inside | Intermediate |
| Themed Reveal | Incorporate themes like “Touchdowns or Tutus” or “Guns or Glitter” in the decorations | Intermediate |
| Gender Reveal Cupcakes | Individual gender reveal cupcakes with colored filling inside | Beginner |
| Surprise Confetti Cake | Mix colored sprinkles into the filling that match the gender | Beginner |
Expert Tips for a Perfect Gender Reveal Cake
- Plan ahead: Make cake layers 1-2 days in advance and wrap well in plastic wrap to maintain moisture.
- Temperature matters: Ensure all refrigerated ingredients reach room temperature before using for proper incorporation.
- Secret keeping: If you want to be surprised too, ask your doctor to provide the gender information to a trusted friend who can add the appropriate color.
- Stability first: Use supports like plastic straws or cake dowels for taller cakes, especially in warm weather.
- Color testing: Test your food coloring in a small amount of batter or filling first to ensure you achieve the desired shade.
- Prevent bleeding: If using colored cake layers, freeze them briefly before assembling to prevent color transfer to the frosting.
- Easy alternative: For beginners, gender reveal cupcakes provide individual portions and are often easier to manage than a large cake.
- Allergy considerations: Offer a small alternative dessert for guests with dietary restrictions.
- Photography prep: Position your cake in good lighting and plan who will capture the moment when the cake is cut.
- Cutting strategy: Use a clean, sharp knife and wipe between cuts for the cleanest reveal presentation.
Video Tutorial
For a complete visual walkthrough of creating your own gender reveal cake:
Recipe Card
Classic Gender Reveal Cake
Prep Time: 1 hour
Cook Time: 30 minutes
Decoration Time: 45 minutes
Total Time: 2 hours 45 minutes (plus cooling time)
Servings: 12-16 slices
Difficulty Level: Intermediate
Special Equipment: 8-inch cake pans, electric mixer, offset spatula, piping bags/tips (optional)
Notes:
- Make ahead: Cake layers can be baked up to 2 days in advance and stored wrapped in plastic at room temperature. Filling and frosting can be made 1 day ahead and refrigerated.
- Storage: Completed cake can be refrigerated for up to 3 days. Bring to room temperature before serving for the best flavor and texture.
- Freezing: Unfrosted cake layers can be frozen for up to 1 month if wrapped well.
Creating a gender reveal cake is not just about baking – it’s about crafting a memorable moment that you and your loved ones will cherish forever. The joy on everyone’s faces when the cake is cut to reveal that first glimpse of pink or blue makes every step of the process worthwhile.
Whether you’re an experienced baker or trying this for the first time, remember that the most important ingredient is the love and excitement that goes into making it. The cake doesn’t need to be professionally perfect – the meaning behind it makes it special.
What gender reveal cake ideas are you most excited to try? Have you created one before? Share your experiences in the comments below!
Looking for more baby celebration ideas? Check out our guides to baby shower themes, and easy gender reveal cupcakes for intimate gatherings!