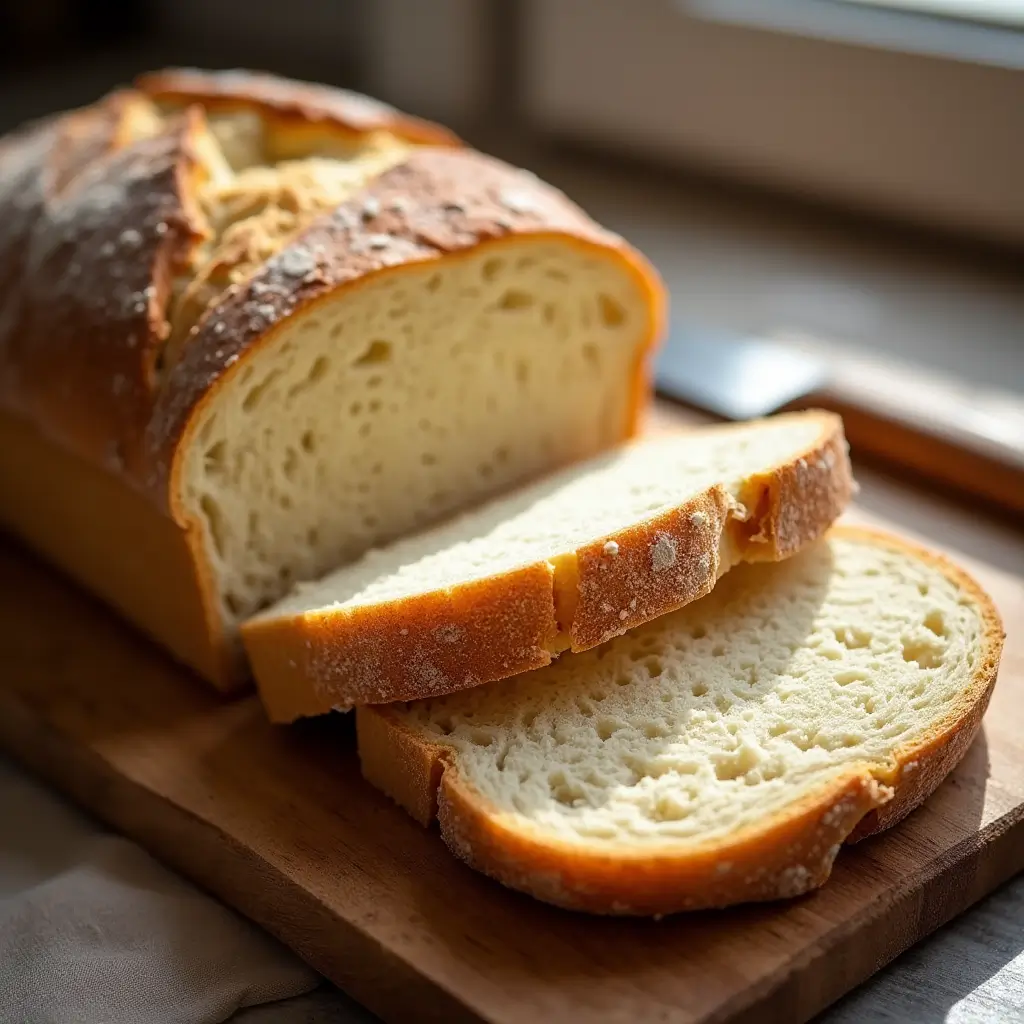
There’s nothing quite like the intoxicating aroma of freshly baked sourdough bread wafting through your home. But while those rustic, artisan loaves with crackling crusts and open crumbs have their place, sometimes you just need a reliable, soft sandwich bread that won’t tear apart when spreading peanut butter or crumble when making your favorite turkey club.
If you’ve been struggling to create a sourdough loaf that’s suitable for everyday sandwiches and morning toast, you’re not alone. Many home bakers find themselves torn between the health benefits of sourdough and the practical needs of a family-friendly sandwich bread.
That’s where this recipe comes in. After countless hours of testing and tweaking, I’ve developed a foolproof method for creating the perfect soft sourdough sandwich bread with a tender crumb, thin crust, and just the right hint of that signature sourdough tang. Whether you’re new to sourdough baking or a seasoned pro looking to expand your repertoire, this step-by-step guide will help you achieve consistent, delicious results every time.
In this comprehensive guide, you’ll learn everything you need to know about making the ultimate sourdough sandwich bread: from selecting the right ingredients and understanding their roles to mastering the timing, techniques, and troubleshooting tips that will ensure success. Let’s get started!
Table of Contents
Why You’ll Love This Sourdough Sandwich Bread Recipe
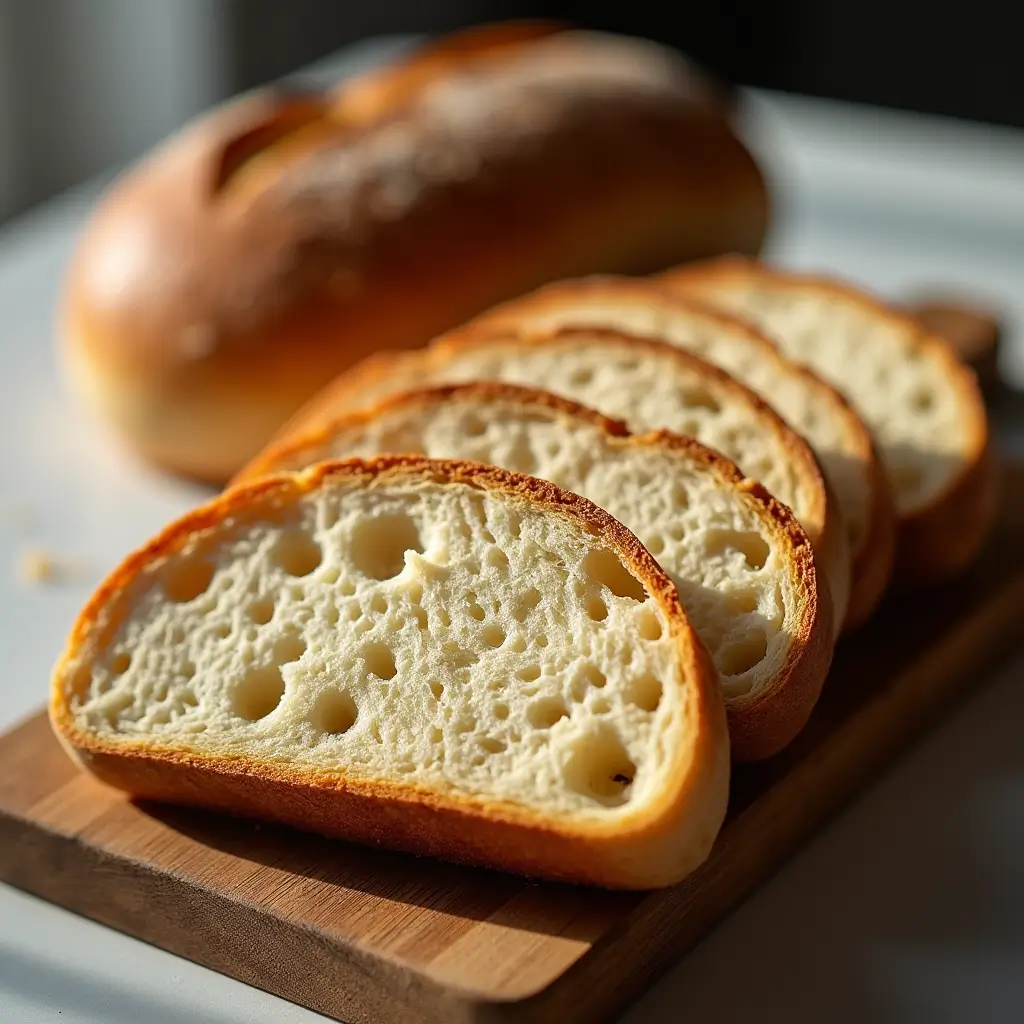
- Incredibly Soft & Fluffy: This bread achieves that classic sandwich bread texture you’re looking for—tender and pillowy rather than chewy and dense.
- Mild Tang: You’ll enjoy a pleasant sourdough flavor that complements rather than overpowers your sandwich fillings.
- Versatile: Perfect for everything from PB&J sandwiches to avocado toast to French toast for weekend brunch.
- Healthier Option: Naturally leavened bread often offers improved digestibility and nutrient availability compared to commercial yeasted breads.
- Step-by-Step Guidance: Even if you’re new to sourdough, these detailed instructions will help you succeed.
- Make-Ahead Friendly: The flexible schedule options work with your life, not against it.
Essential Equipment
To successfully make this sourdough sandwich bread, you’ll need:
- Kitchen scale (highly recommended for accuracy)
- Large mixing bowl
- Stand mixer with dough hook (optional but helpful)
- Bench scraper
- 9×5-inch loaf pan
- Kitchen thermometer
- Cooling rack
Understanding the Ingredients (The “Why” Behind Your Bread)
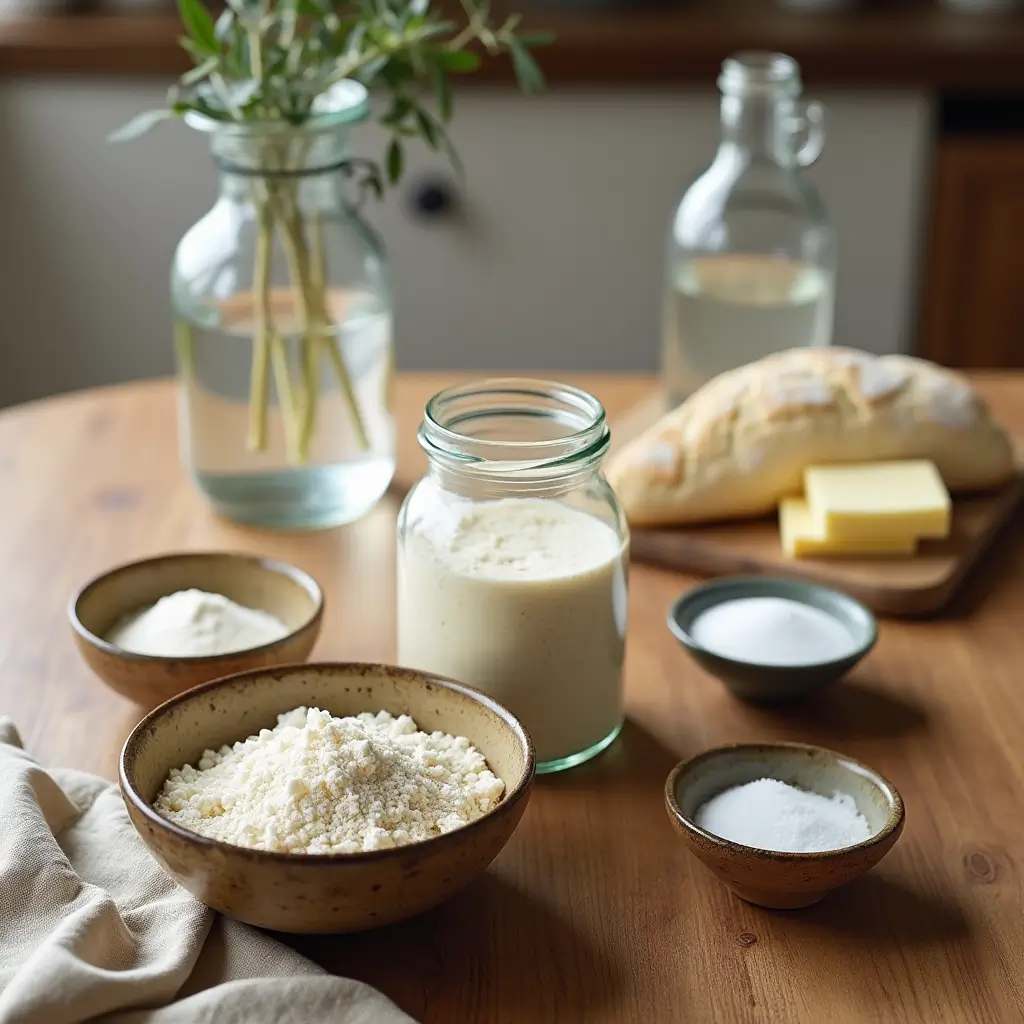
Ingredient List:
- 100g active sourdough starter (½ cup)
- 350g bread flour (about 2¾ cups)
- 50g whole wheat flour (optional, about ⅓ cup)
- 200g warm water (about ¾ cup + 2 Tbsp, 75-80°F)
- 60g whole milk (¼ cup)
- 35g unsalted butter, softened (2½ Tbsp) or 30g oil
- 25g honey or sugar (about 1 Tbsp + 1 tsp)
- 9g salt (about 1½ tsp)
Ingredient Deep Dive:
Sourdough Starter: The heart of any sourdough recipe. For best results, use your starter at its peak activity—when it’s doubled or tripled in size, has a domed surface filled with bubbles, and passes the float test (a small amount should float in water). The starter provides both leavening power and that distinctive, complex flavor.
Flour: This recipe calls for bread flour because its higher protein content (typically 12-14%) develops stronger gluten, which helps create the structure needed for a well-risen, soft loaf. The optional whole wheat flour adds nutrition and a subtle nuttiness. If using whole wheat, you may need to increase hydration slightly as it absorbs more water.
Hydration: This recipe uses approximately 70% hydration (when calculating water and milk against flour weight), striking the perfect balance between a soft crumb and a dough that’s easy to handle. Too wet and it’s difficult to shape; too dry and your bread becomes dense.
Enrichments:
- Milk: The Milk contributes to a softer crumb and more tender crust through the addition of fat and milk sugars. Can be replaced with equal parts water if needed.
- Butter/Oil: Fat is crucial for creating that soft, tender sandwich bread texture. Butter offers richer flavor, while oil (like olive or avocado) provides a more neutral taste and keeps bread softer for longer.
- Honey/Sugar: Beyond adding a touch of sweetness, sugar tenderizes the crumb and helps achieve a golden crust through caramelization. It also provides food for the sourdough microorganisms, enhancing fermentation.
Salt: More than just flavor enhancer, salt strengthens gluten structure and regulates fermentation. Don’t skip it or reduce it significantly, as it’s essential for proper dough development and preventing an overly sour flavor.
Baker’s Schedule: Planning Your Bake
Sample Timeline:
Day 1 Evening (8-9 PM):
- Feed your sourdough starter for use the next morning
Day 2 Morning (8-9 AM):
- Mix dough when starter is at peak activity
- Perform stretch and folds
- Begin bulk fermentation
Day 2 Afternoon (12-2 PM):
- Complete bulk fermentation
- Shape loaf and place in pan
Day 2 Evening (5-6 PM):
- Place shaped loaf in refrigerator for cold proof
Day 3 Morning (7-8 AM):
- Remove from refrigerator, let warm slightly while oven preheats
- Bake bread
- Cool completely before slicing
Alternative Schedule Options:
- Same-Day Bake: Mix dough early morning, bulk ferment, shape, and proof at room temperature for 2-3 hours, then bake in the evening.
- Longer Cold Proof: After shaping, refrigerate for up to 24 hours for enhanced flavor and convenience.
Remember that these times are estimates—your actual timing will depend on the activity level of your starter and your kitchen temperature. Always trust visual cues over the clock!
Step-by-Step Instructions
Step 1: Feed Your Starter
Ensure your sourdough starter is active and ready by feeding it 8-12 hours before mixing your dough. An active starter should double or triple in size, show plenty of bubbles, and have a pleasant, slightly tangy aroma.
Step 2: Mix the Dough
- In a large bowl, combine 100g active starter, 200g warm water, and 60g milk. Stir until the starter is mostly dissolved.
- Add 350g bread flour, 50g whole wheat flour (if using, or replace with bread flour), and 25g honey or sugar. Mix well until no dry flour remains and you have a shaggy dough.
- Cover and let rest for 30-60 minutes (this autolyse period allows the flour to fully hydrate and begins gluten development, making the next steps easier).
Step 3: Add Salt & Fat
- Add 9g salt and 35g softened butter (or 30g oil) to the dough.
- If using a stand mixer: Mix on low speed for 1-2 minutes, then medium speed for 4-5 minutes until the dough becomes smooth and the butter is fully incorporated.
- If mixing by hand: Use the pincer method (imagine your hand as a claw) to incorporate the salt and butter, then knead in the bowl or on a clean surface for 5-7 minutes until smooth.
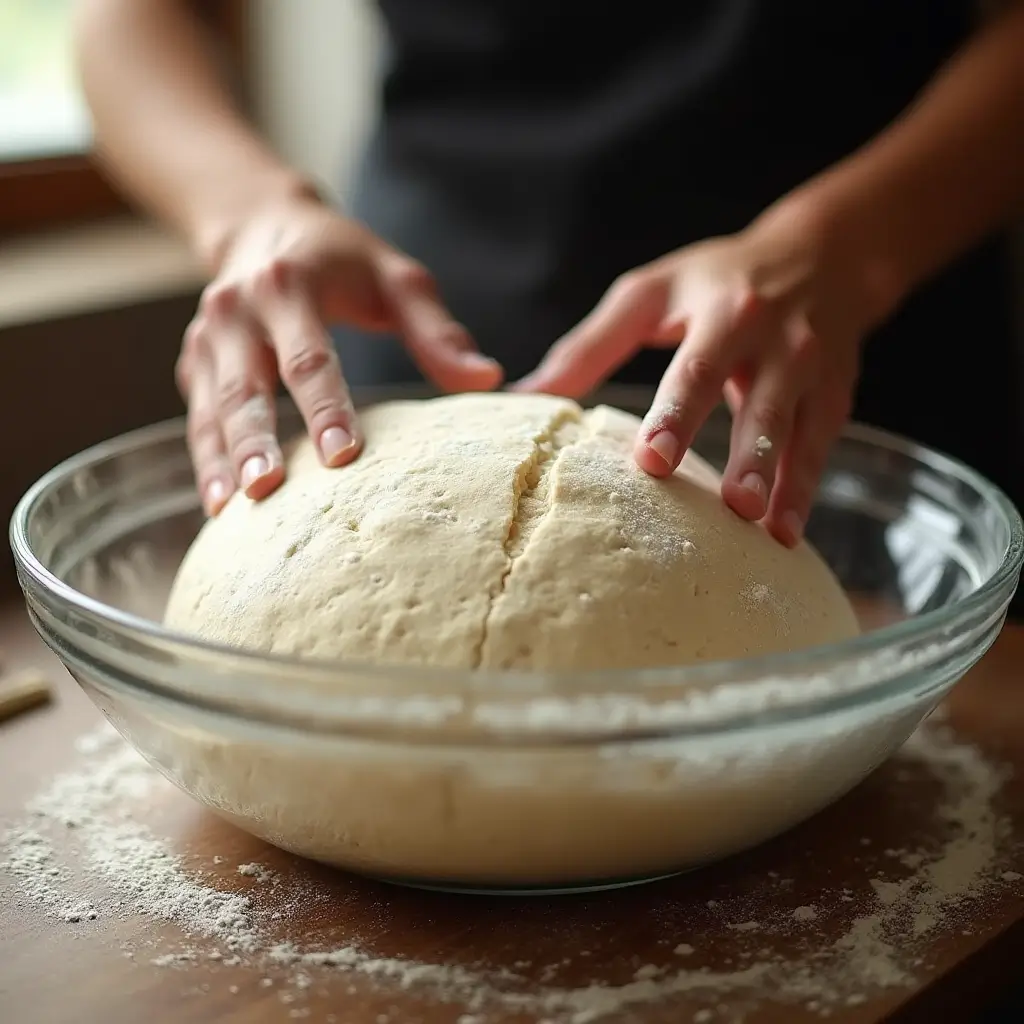
Step 4: Bulk Fermentation (The First Rise)
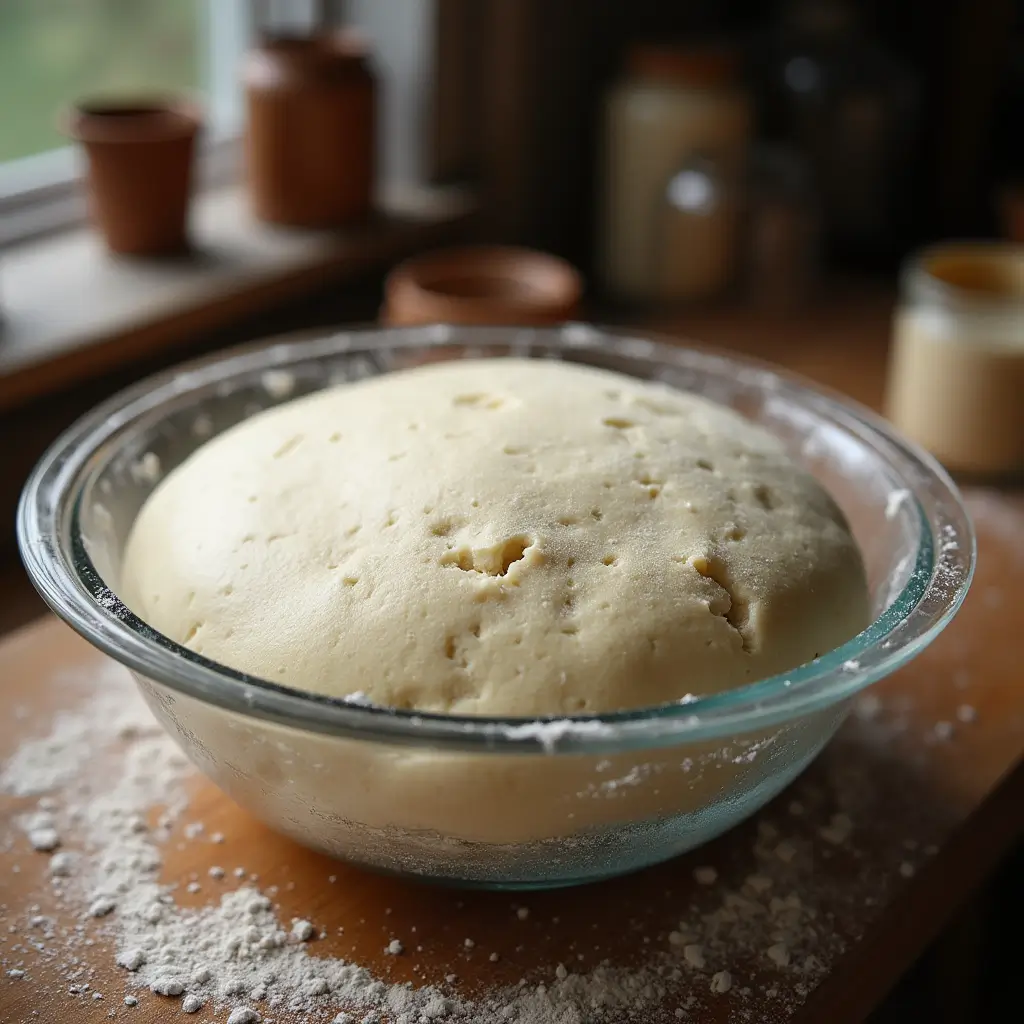
- Transfer the dough to a clean and lightly oiled bowl. Cover it with a damp cloth or plastic wrap.
- During the first 2 hours, perform 3-4 sets of stretch and folds every 30-45 minutes:
- Wet your hands slightly
- Grab one side of the dough and stretch it up and fold it over the center
- Rotate the bowl 90° and repeat for a total of 4 folds
- This builds strength and structure in your dough
- After completing the stretch and folds, allow the dough to rise until:
- It has increased in volume by 50-75% (not quite doubled)
- The surface appears smooth with some visible bubbles
- The dough will jiggle when you gently shake the bowl
- This typically takes 4-6 hours at 75-80°F (24-27°C)
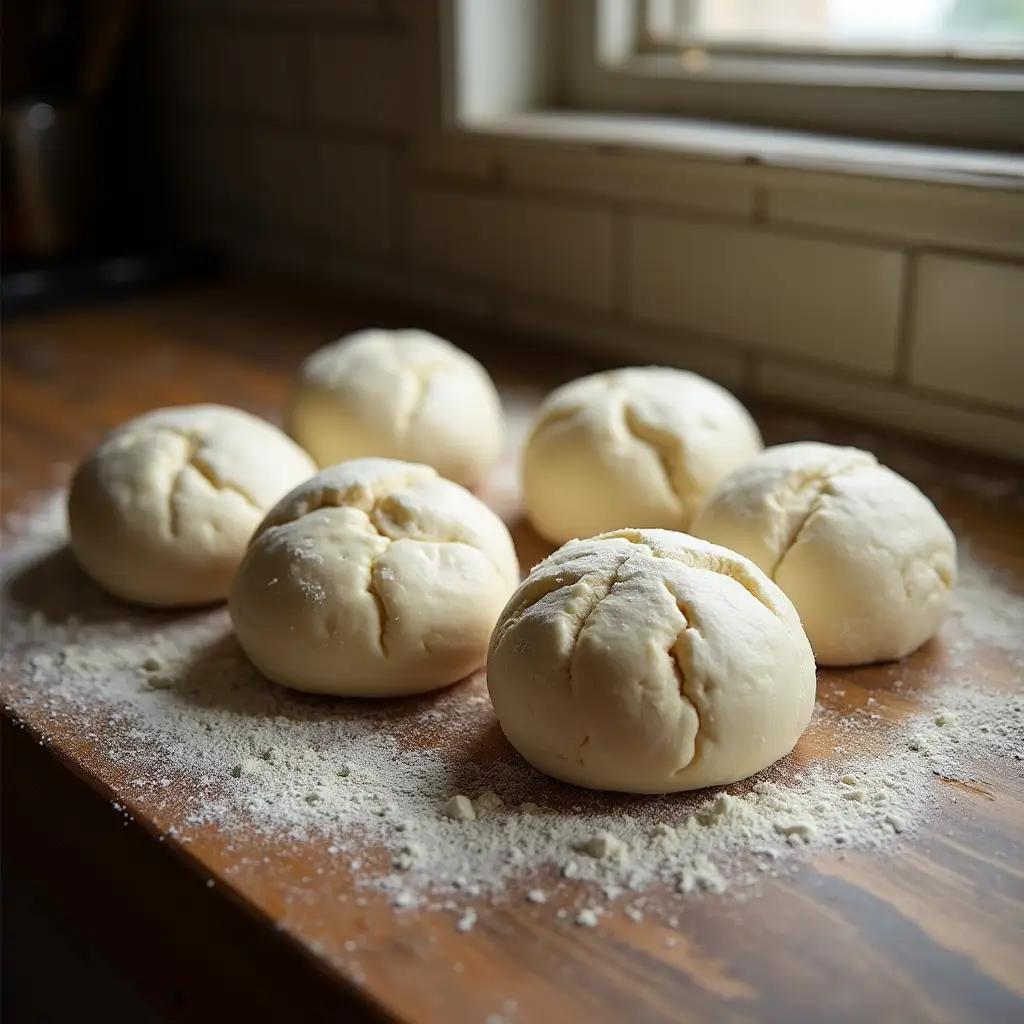
Step 5: Shaping the Loaf
- Gently turn the dough out onto a lightly floured surface, being careful not to deflate it completely.
- Perform a pre-shape by pulling the edges toward the center to create a rough round. Let rest for 15-20 minutes (bench rest).
- For final shaping:
- Flatten the dough gently into a rectangle roughly the width of your loaf pan
- Fold the top third down toward the center like folding a letter
- Fold the bottom third up over that
- Roll the dough from one short end to the other, creating surface tension
- Pinch the seam and ends closed
- Place the shaped loaf seam side down in a lightly greased 9×5-inch loaf pan.
Step 6: Final Proofing (The Second Rise)
Choose one of these proofing methods:
Cold Proof (Recommended):
- Cover the pan with a plastic wrap or a damp cloth
- Place in refrigerator for 8-18 hours
- This slower rise develops flavor and fits easily into your schedule
Room Temperature Proof:
- Cover the pan and place in a warm spot (75-80°F/24-27°C)
- Let it rise for 1-3 hours, until the dough rises about 1 inch above the rim of the pan
- You can use the “poke test” to check readiness: gently poke the dough with a floured finger about ½ inch deep—if it springs back slowly and leaves a slight indentation, it’s ready
Step 7: Prepare for Baking
- Preheat your oven to 425°F (220°C) with a rack in the middle position.
- If your loaf was refrigerated, let it sit at room temperature for 30-60 minutes while the oven preheats.
- Optional: Make a single shallow slash down the center of the loaf with a sharp knife or razor blade.
Step 8: Baking
- Place the loaf in the preheated oven and immediately add steam:
- Place a small metal pan with boiling water on the bottom rack, or
- Spray the oven walls with water (being careful to avoid the light and any electronics)
- Bake at 425°F (220°C) for 20 minutes
- Reduce temperature to 375°F (190°C) and continue baking for 20-25 minutes more
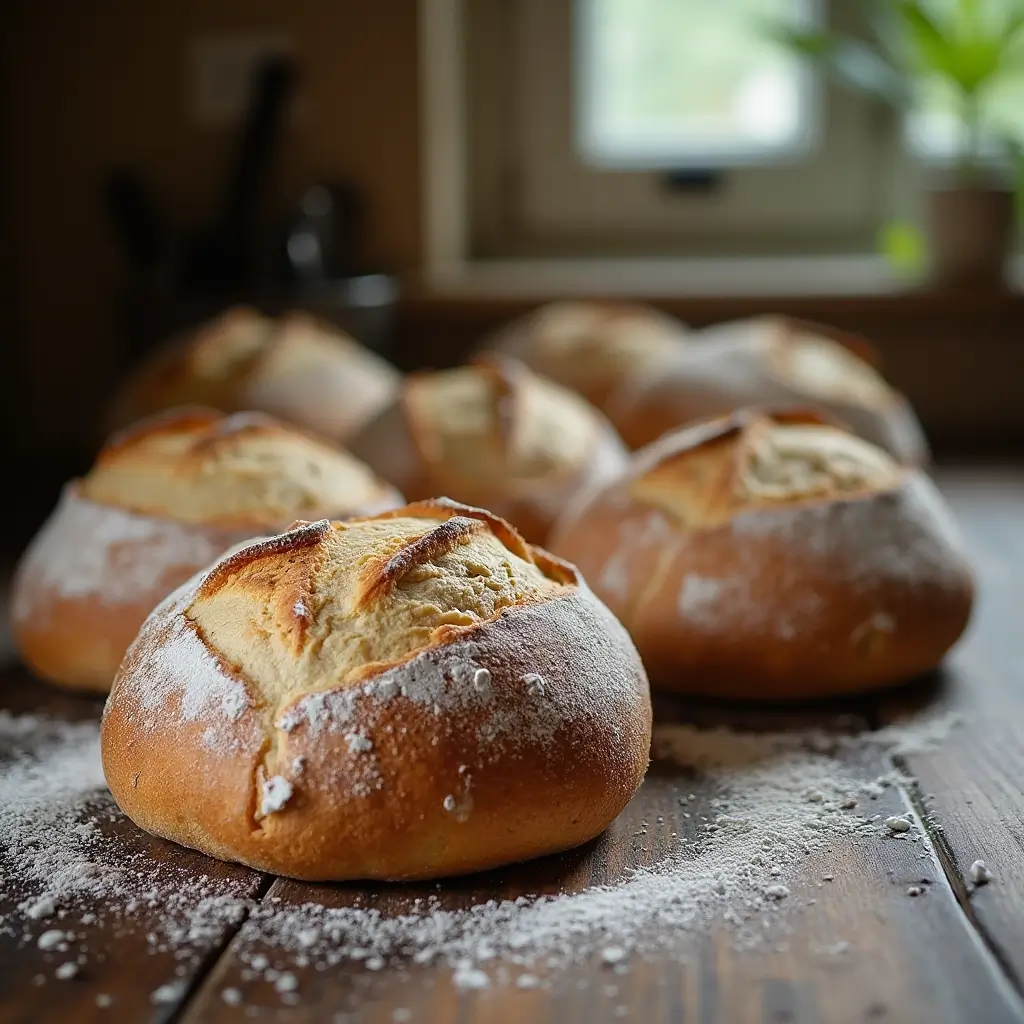
- The bread is done when:
- It’s golden brown
- Sounds hollow when tapped on the bottom
- Internal temperature reaches 200-205°F (93-96°C)
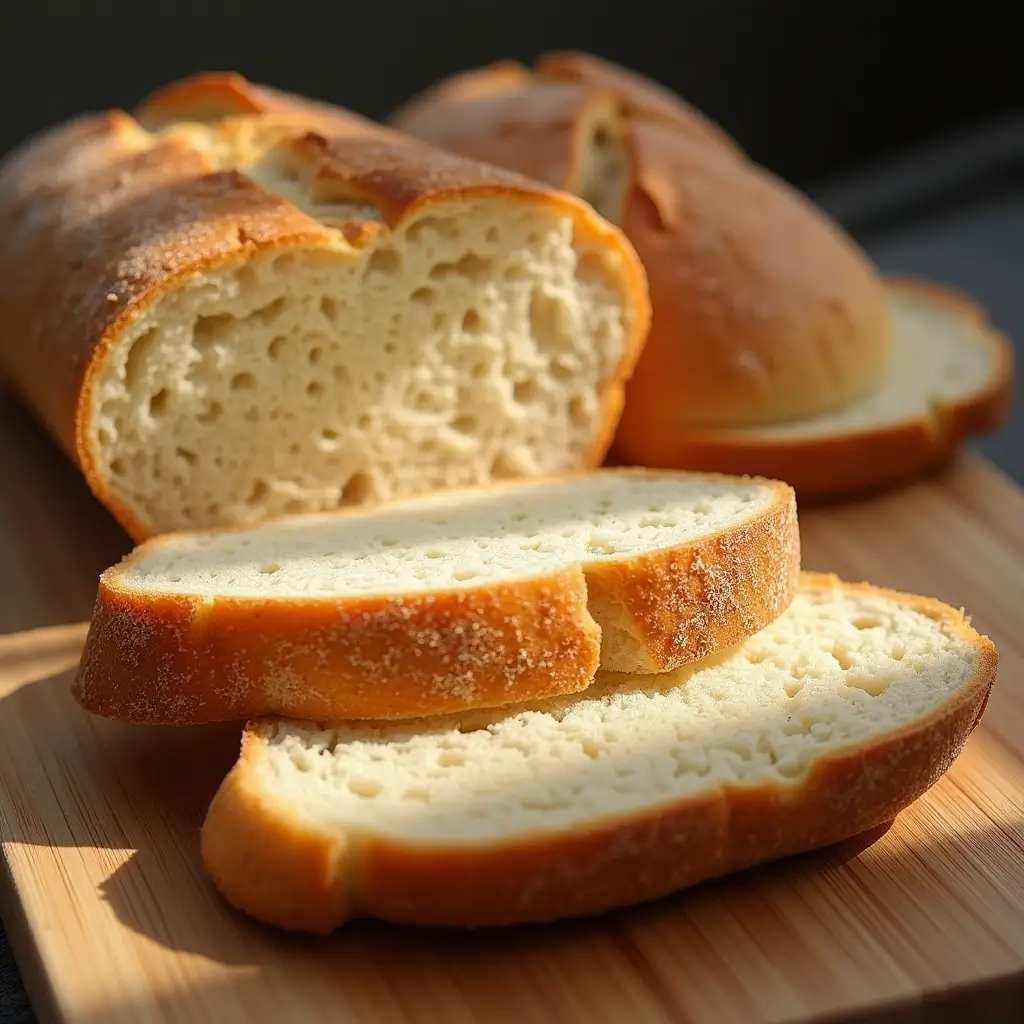
Step 9: Cooling (Crucial!)
- Immediately remove the bread from the pan and place on a wire cooling rack.
- Allow to cool completely (at least 2-3 hours) before slicing.
- This cooling period is not optional! It allows the crumb to set properly and prevents a gummy texture.
Pro Tips for the Softest Sourdough Sandwich Loaf
- Master Your Starter: A consistently active starter is the foundation of great sourdough bread. Feed it regularly and use it at peak activity.
- Watch Dough Temperature: Aim for 75-80°F (24-27°C) during bulk fermentation. Too cold slows fermentation; too warm risks over-fermenting.
- Don’t Skip the Enrichments: Butter/oil, milk, and sweetener are the secret to that soft sandwich bread texture.
- Create Surface Tension: Proper shaping creates the tension needed for good rise and uniform crumb structure.
- Steam Is Essential: Steam during the first part of baking allows for maximum rise before the crust sets.
- Practice Patience: Both with fermentation and cooling—rushing either step will compromise your results.
- Measure by Weight: For consistent, reliable results, use a kitchen scale rather than volume measurements.
Troubleshooting Common Issues
| Problem | Likely Causes | Solutions |
|---|---|---|
| Dense or Gummy Bread | • Underproofed dough<br>• Inactive starter<br>• Sliced while warm<br>• Underbaked | • Allow for longer proofing time<br>• Ensure starter doubles before using<br>• Always cool completely<br>• Bake until internal temp reaches 200°F+ |
| Overly Sour Flavor | • Over-fermented dough<br>• Starter used past peak<br>• Too long of a cold proof | • Shorten fermentation times<br>• Use starter at peak activity<br>• Adjust starter feeding ratio (1:2:2 or 1:3:3) |
| Poor Rise/Flat Loaf | • Weak starter<br>• Overproofed dough<br>• Improper shaping | • Strengthen starter with consistent feedings<br>• Watch for proofing signs, not just time<br>• Practice creating surface tension when shaping |
| Too Thick/Hard Crust | • Insufficient steam<br>• Baked too long or hot<br>• Low hydration dough | • Ensure adequate steam at start of bake<br>• Adjust baking time/temp<br>• Consider brushing with butter after baking |
Variations and Add-Ins
Want to customize your sourdough sandwich bread? Try these variations:
Whole Wheat Version: Replace up to 50% of the bread flour with whole wheat flour. Increase water by 10-15g per 100g of whole wheat flour used to maintain proper hydration.
Seeded Loaf: Add 60-80g of your favorite seeds (sunflower, pumpkin, flax, sesame). Incorporate during the final stretch and fold, or roll the shaped loaf in seeds before placing in the pan.
Cinnamon Raisin: Add 1 tablespoon ground cinnamon and 80-100g raisins (soaked in warm water and drained) during the final stretch and fold. Consider increasing sugar to 35-40g for a sweeter loaf.
Tangzhong Method (Advanced): For extra softness, cook 20g of flour with 100g water into a paste (tangzhong), cool, then incorporate into your dough. Reduce the recipe’s water by 80g to compensate.
Storage Instructions
Room Temperature: Store in a bread bag or cloth bread bag for 3-4 days. Avoid plastic wrap which softens the crust too much and can promote mold.
Freezing: For best results, slice the completely cooled loaf before freezing. Store the slices in a freezer bag with parchment paper between layers. Freeze for up to 3 months. Toast directly from frozen.
Serving Suggestions
This versatile sourdough sandwich bread is perfect for:
- Classic sandwiches from PB&J to club sandwiches
- Morning toast with butter and jam
- French toast or bread pudding
- Grilled cheese sandwiches
- Homemade croutons or breadcrumbs (if you have leftovers going stale)
Frequently Asked Questions (FAQ)
Q: Can I use sourdough discard for this recipe?
A: For best results, use active, fed starter at its peak. Discard lacks the rising power needed for a soft, well-risen loaf.
Q: Can I make this recipe no-knead?
A: While possible, some level of kneading or stretch-and-folds is recommended for proper gluten development and that soft sandwich texture.
Q: What if I don’t have a stand mixer?
A: Hand kneading works perfectly! Plan for 8-10 minutes of kneading to achieve the same level of gluten development.
Q: Can I bake this in a Dutch oven?
A: Yes, though you’ll get a more rustic shape. Preheat the Dutch oven, bake covered at 425°F for 20 minutes, then uncovered at 375°F for 15-20 minutes.
Q: How do I know my starter is active enough?
A: It should double or triple in volume within 4-8 hours of feeding, appear bubbly throughout, and pass the float test (a small amount should float in water).
Q: Can I substitute all-purpose flour for bread flour?
A: Yes, though the texture may be slightly less structured. Consider reducing water by 10-15g as all-purpose absorbs less water.
Q: Why should I measure ingredients by weight?
A: Weight measurements are significantly more accurate than volume, which is crucial for consistent bread baking success.
The Ultimate Soft Sourdough Sandwich Bread
Prep Time: 25 minutes
Fermentation Time: 5-24 hours
Bake Time: 40-45 minutes
Total Time: 6-25 hours
Yield: 1 loaf (about 12-14 slices)
Category: Bread
Cuisine: American
Ingredients
- 100g active sourdough starter (½ cup)
- 350g bread flour (about 2¾ cups)
- 50g whole wheat flour (optional, about ⅓ cup)
- 200g warm water (about ¾ cup + 2 Tbsp, 75-80°F)
- 60g whole milk (¼ cup)
- 35g unsalted butter, softened (2½ Tbsp) or 30g oil
- 25g honey or sugar (about 1 Tbsp + 1 tsp)
- 9g salt (about 1½ tsp)
Instructions
- Mix starter your, water, and milk in a large bowl. Add flours and sweetener, combine until no dry flour remains. Rest 30-60 minutes.
- Add salt and butter, knead well until smooth and butter is fully incorporated (5-7 minutes by hand, 4-5 minutes in stand mixer).
- Perform 3-4 sets of stretch and folds every 30-45 minutes, then continue bulk fermentation until dough has increased 50-75% in volume (total 4-6 hours at 75-80°F).
- Shape dough into a sandwich loaf and place in a greased 9×5-inch loaf pan.
- Proof it at room temperature for 1-3 hours or refrigerate for 8-18 hours.
- Preheat oven to 425°F (220°C). Optional: score the loaf with one slash down the center.
- Bake with steam for 20 minutes, then reduce temperature to 375°F (190°C) and bake 20-25 minutes more until golden and internal temperature reaches 200-205°F.
- Immediately remove from pan and cool completely on a wire rack (at least 2-3 hours) before slicing.
Notes
- Use active starter at its peak for best results
- Always cool bread completely before slicing
- For softest results, don’t skip the milk, fat, and sweetener
- All timing is approximate and depends on your starter dough activity and kitchen temperature
There’s something truly special about slicing into a loaf of homemade sourdough sandwich bread recipe that you’ve created with your own hands. The perfect balance of softness and structure, with just the right hint of sourdough tang, makes this recipe a game-changer for anyone who loves the taste of sourdough but needs the practicality of a sandwich-friendly loaf.
I hope this comprehensive guide gives you the confidence to dive into sourdough sandwich bread baking, whether you’re a complete beginner or a seasoned sourdough baker looking to expand your repertoire. Remember that sourdough is as much art as science—each loaf teaches you something new, and little variations in technique or timing help you develop your own perfect method.
Have you tried this recipe? I’d love to hear about your results or answer any questions in the comments! And if you’ve enjoyed success with this loaf, please consider rating the recipe and sharing a photo on social media (be sure to tag me so I can see your beautiful creation!).
I personally got enspired by Emilie’s Sourdough Sandwich Bread Recipe and her selling book: Artisan Sourdough Made Simple.
Happy baking!